Choose the right screen recording method
macOS includes a useful capture tool for quick, unedited recordings. Dedicated software becomes valuable when you need to guide attention, hide the recorder during capture, preserve high quality and edit before exporting.
Full screen, window or custom area?
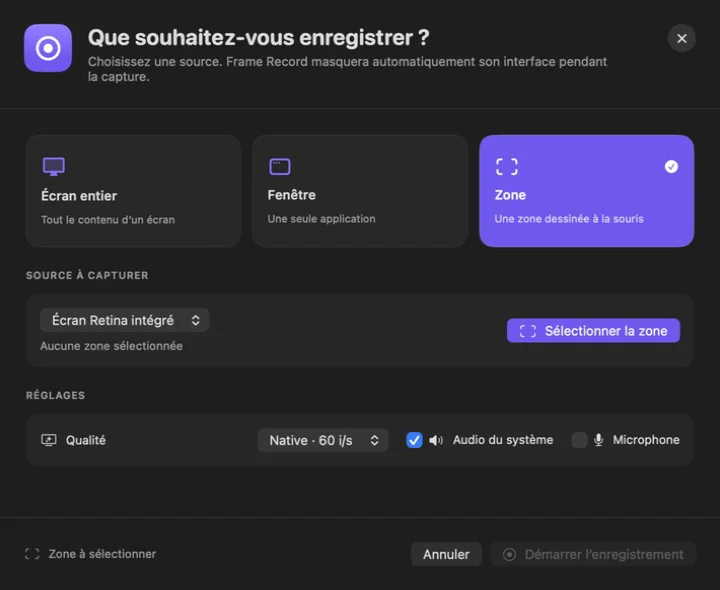
Full screen works for workflows that move across apps. Window capture keeps the desktop out of view. A custom area focuses the recording on a specific interface.
- Close notifications and sensitive documents.
- Choose a readable resolution, usually 1080p or 1440p.
- Use 60 fps for very fluid motion; 30 fps creates smaller files.
Record Mac system audio and microphone
A walkthrough may include system audio, microphone input or both. Check macOS Screen Recording and Microphone permissions first. Record a ten-second sample to confirm audio levels before capturing the full session.
Edit the recording without switching apps
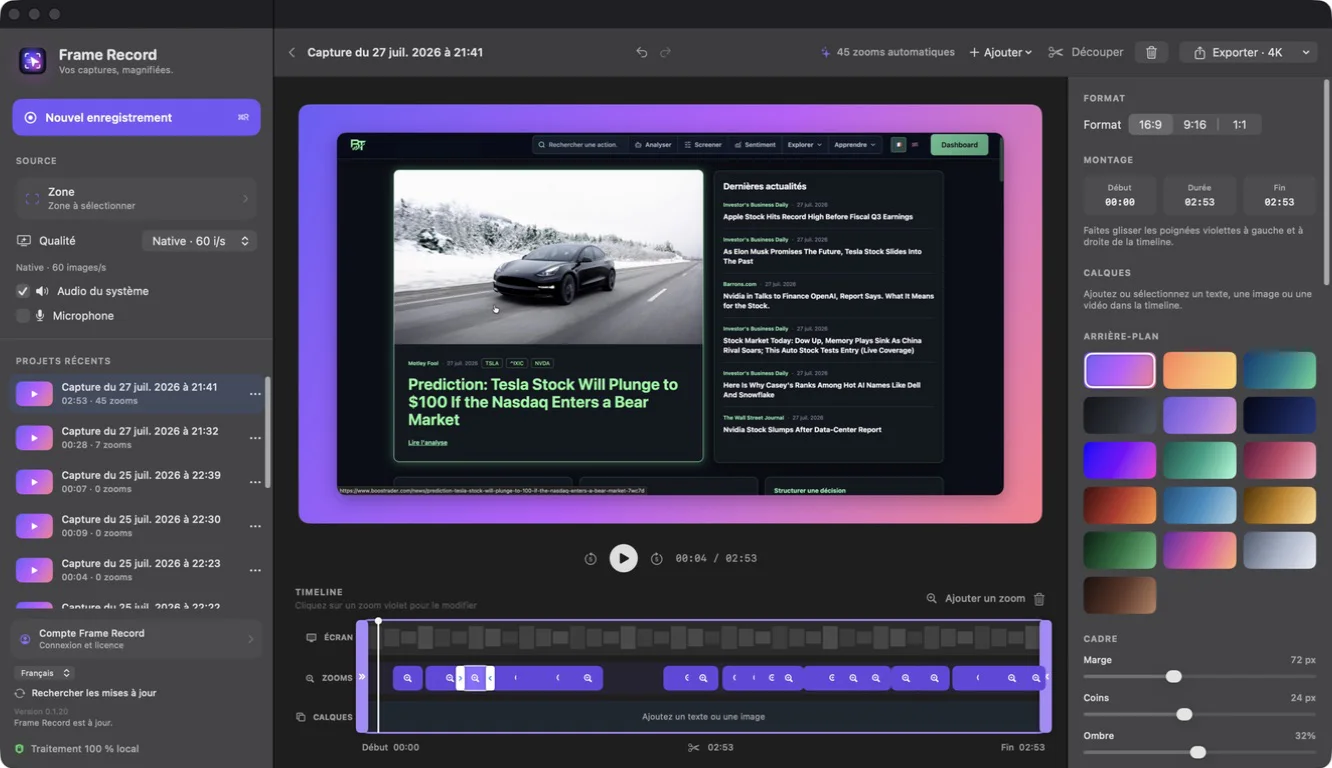
Trim hesitation at both ends, remove dead time and add only what improves understanding. Short text, images and inserted clips can structure the story. Automatic zooms should be selective and support meaningful actions.
Export a sharp, efficient video
For the web, MP4 with H.264 provides broad compatibility. Export at 1080p for most use cases and 4K when the source, small interface text or publishing platform requires it. Always review the final file.